4 KiB
Serverless
Introduced in GitLab 11.5.
Run serverless workloads on Kubernetes using Knative.
Overview
Knative extends Kubernetes to provide a set of middleware components that are useful to build modern, source-centric, and container-based applications. Knative brings some significant benefits out of the box through its main components:
- Build: Source-to-container build orchestration
- Eventing: Management and delivery of events
- Serving: Request-driven compute that can scale to zero
For more information on Knative, visit the Knative docs repo.
Requirements
To run Knative on Gitlab, you will need:
- Kubernetes: An RBAC-enabled Kubernetes cluster is required to deploy Knative. The simplest way to get started is to add a cluster using GitLab's GKE integration. GitLab recommends
- Helm Tiller: Helm is a package manager for Kubernetes and is required to install all the other applications. It is installed in its own pod inside the cluster which can run the helm CLI in a safe environment.
- Domain Name: Knative will provide its own load balancer using Istio. It will provide an external IP address for all the applications served by Knative. You will be prompted to enter a wildcard domain where your applications will be served. Configure your DNS server to use the external IP address for that domain.
- Serverless
gitlab-ci.ymlTemplate: GitLab uses the TriggerMesh CLI, a serverless resource management utilty to work with knative objects. Thegitlab-ci.ymltemplate uses it to build and deploy knative services and functions. Access the template here. - Docker File: Knative requires a docker file in order to build your application. It should be included at the root of your project's repo.
Installing Knative via GitLab's Kubernetes integration
NOTE: Note: Minimum recommended cluster size to run Knative is 3-nodes, 6 vCPUs, and 22.50 GB memory. RBAC must be enabled.
You may download the sample Knative Ruby App to get started.
-
Add a Kubernetes cluster and install Helm.
-
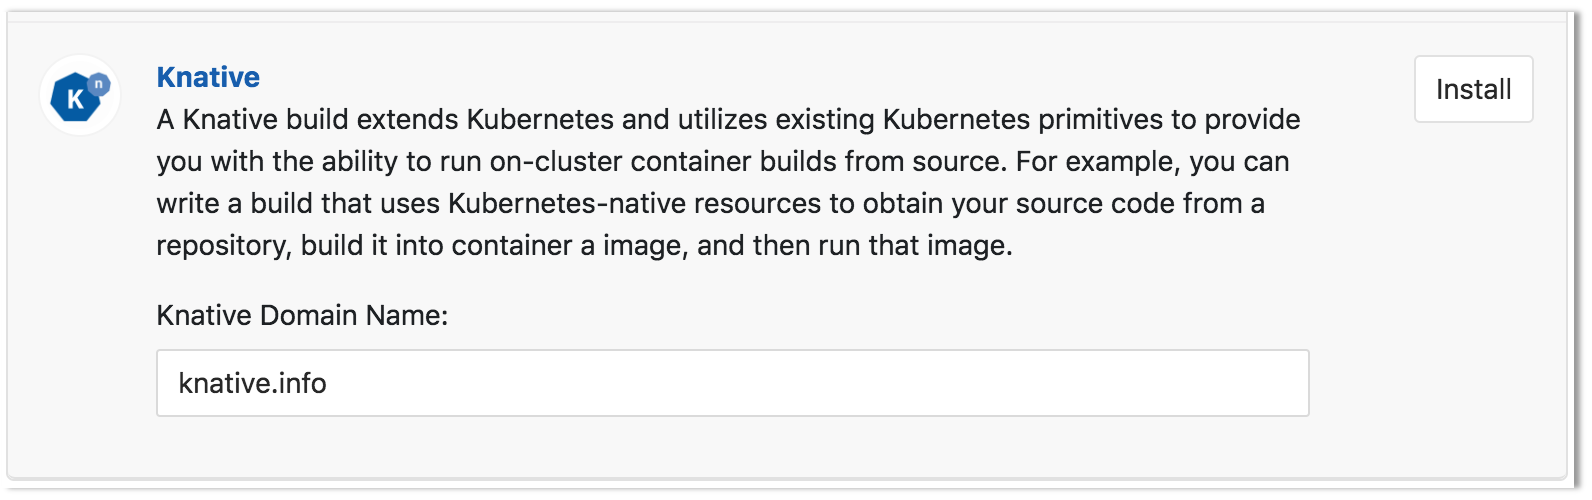
Once Helm has been successfully installed, on the Knative app section, enter the domain to be used with your application and click "Install".
-
After the Knative installation has finished, retrieve the Istio Ingress IP address by running the following command:
kubectl get svc --namespace=istio-system knative-ingressgateway -o jsonpath='{.status.loadBalancer.ingress[0].ip} ' -
The ingress is now available at this address and will route incoming requests to the proper service based on the DNS name in the request. To support this, a wildcard DNS A record should be created for the desired domain name.

Deploying the GitLab Runner (optional)
If the project is on GitLab.com, free shared runners are available and you do not have to deploy one. If a project specific runner is desired, or there are no shared runners, it is easy to deploy one.
Simply click on the "Install" button for the GitLab Runner. It is important to note that the runner deployed is set as privileged, which means it essentially has root access to the underlying machine. This is required to build docker images, and so is on by default.
Deploy the application with Knative
With all the pieces in place, you can simply create a new CI pipeline to deploy the Knative application. Navigate to CI/CD >> Pipelines and click on the "Run Pipeline" button on the upper right hand side of the screen. On the Pipelines page now click "Create pipeline".