3.7 KiB
Labels
Labels provide an easy way to categorize the issues or merge requests based on
descriptive titles like bug, documentation or any other text you feel like
it. They can have different colors, a description, and are visible throughout
the issue tracker or inside each issue individually.
With labels, you can navigate the issue tracker and filter any bloated information to visualize only the issues you are interested in. Let's see how that works.
Create new labels
Note: A permission level of
Developeror higher is required in order to manage labels.
Head over a single project and navigate to the label page by clicking on Labels in the left sidebar.
The first time you visit the Labels page you'll notice that there are no labels created yet.
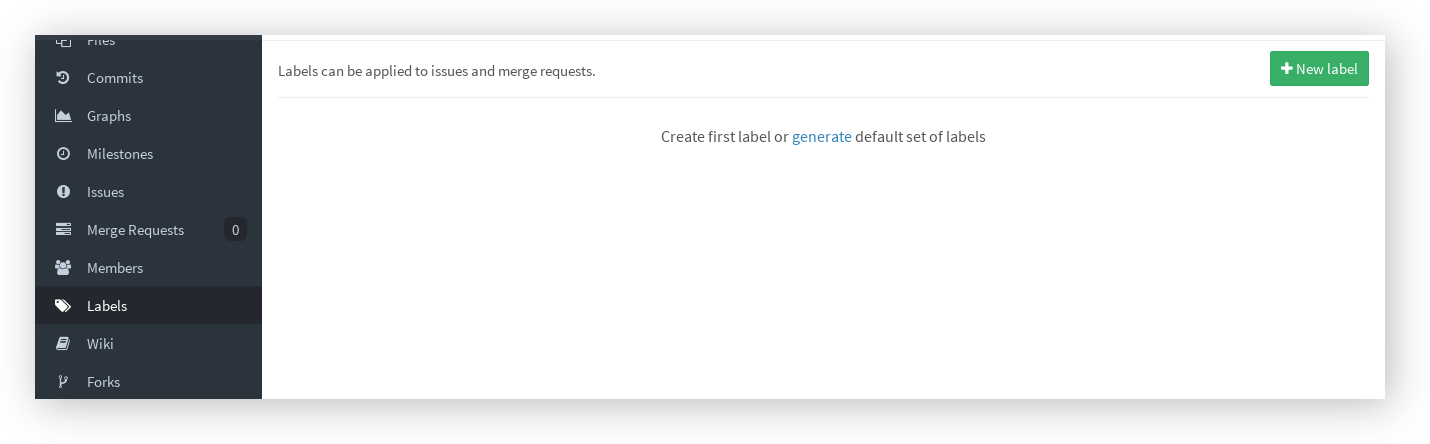
You can skip that and create a new label or click that link and GitLab will generate a set of predefined labels for you. There 8 default generated labels in total and you can see them in the screenshot below.

You can see that from the labels page you can have an overview of the number of issues and merge requests assigned to each label.
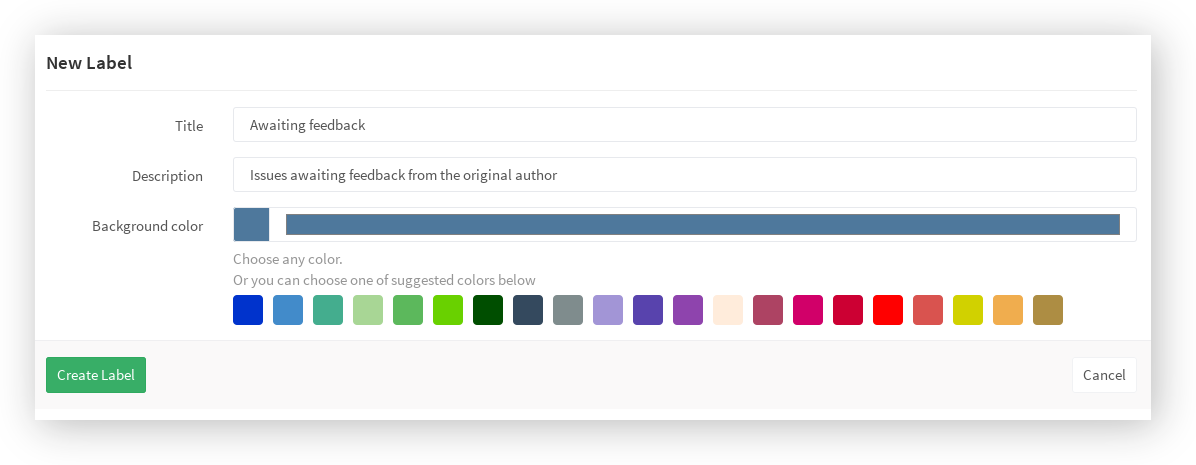
Creating a new label from scratch is as easy as pressing the New label button. From there on you can choose the name, give it an optional description, a color and you are set.
When you are ready press the Create label button to create the new label.
Create a new label right from the issue tracker
Note: This feature was introduced in GitLab 8.6.
There are times when you are already in the issue tracker searching for a label, only to realize it doesn't exist. Instead of going to the Labels page and being distracted from your original purpose, you can create new labels on the fly.
Just hit New Label from the dropdown list, provide a name, pick a color and hit Create.


Assigning labels to issues and merge requests
There are generally two ways to assign a label to an issue or merge request.
You can assign a label when you first create or edit an issue or merge request.

The second way is by using the right sidebar. Expand it and hit Edit. Start typing the name of the label you are looking for to narrow down the list and select it. Once done, click outside the sidebar area for the changes to take effect.
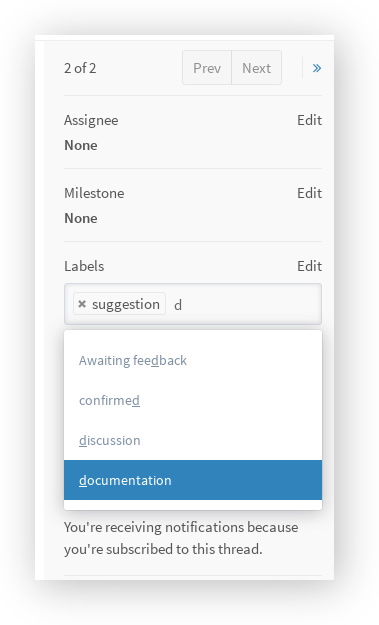

To remove labels, follow the same procedure like when adding them and hit the little x mark next to each one.
Use labels to filter issues
Once you start adding labels to your issues, you'll see the benefit of it. Labels can have several uses, one of them being the quick filtering of issues or merge requests.
Pick an existing label from the dropdown Label menu or click on an existing label from the issue tracker. In the latter case, you also get to see the label description like shown below.

Subscribe to labels
If you don’t want to miss issues or merge requests that are important to you, simply subscribe to a label. You’ll get notified whenever the label gets added to an issue or merge request, making sure you don’t miss a thing.

If you work on a large or popular project, try subscribing only to the labels that are relevant to you. You’ll notice it’ll be much easier to focus on what’s important.